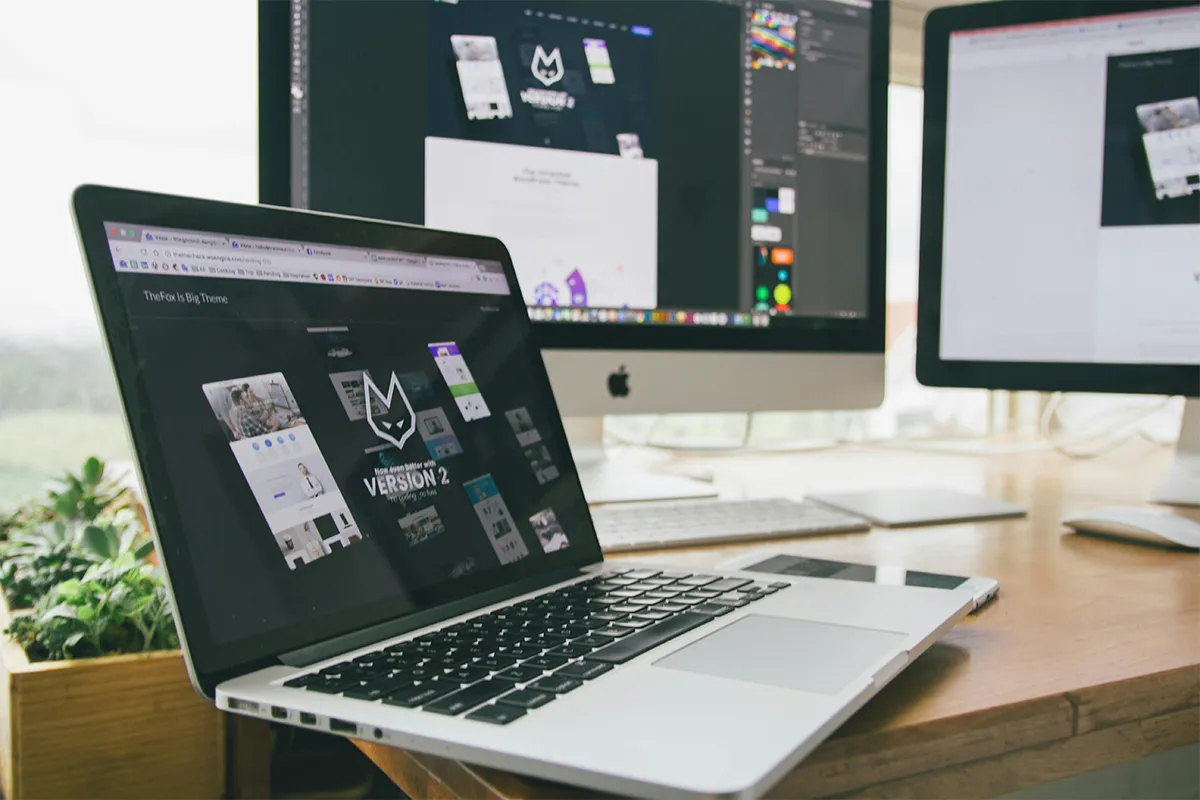
Thinking of expanding your workstation? This lightweight clip-on screen extender for MacBook Air 15-inch will let you breach the horizons of your productivity, multitasking, and on-the-go freedom you need! Enjoying the bright colors while sitting in a remote place gives you the vibe that every working man imagines. These MacBook Air offers a gateway to true dual-screen workflow, faster edits, smooth app switching, and focus more on productivity as well as appreciable results.
Top 10 Best Lightweight clip-on screen extender for MacBook Air 15-inch
You may want help choosing the best clip-on screen extender for the MacBook Air 15-inch for real work, not just looks. This list aims to keep your bag light and your setup steady.
First, decide whether a one-sided screen is enough. Many people prefer a single slide-out panel because it saves power, keeps weight down, and feels simple.

Next, check macOS support for your chip and ports. A quick check prevents surprises and helps you get a true USB-C plug-and-play MacBook Air monitor experience. Choose a Laptop Screen Extender Monitor Portable for a light, easy second screen on your MacBook Air.
1. Mobile Pixels DUEX Plus (13.3″)
For a balanced, tidy setup, the DUEX Plus pairs well with a 15-inch Air. It attaches to a thin plate on your lid, then slides out when needed. The 13.3-inch size gives enough room for mail, notes, or a browser while your main work stays on the Mac screen.
Connection is simple with one USB-C cable in most cases. See VESA: DisplayPort Alt Mode over USB-C for how single-cable USB-C video works. Text looks crisp for office tasks, and the slider feels smooth. Because the mount uses magnets, it fits a key phrase you may see in searches: magnetic laptop screen extender for Mac. Daily use stays comfortable, and the lid remains steady.
Pros:
- 13.3-inch FHD with USB-C
- ~1.3 lb, light on lid
- Magnetic plate, quick on/off
- Eye-care and viewing modes
Cons:
- Needs adhesive magnetic plates
- 1080p only, no higher res
- Single cable needs DP Alt-Mode
- Adds ~1.3 lb weight
2. Mobile Pixels DUEX Lite (12.5″)
When low weight matters most, the DUEX Lite is small and slim. The 12.5-inch panel keeps your laptop easy to hold and carry. Writers, students, and busy travelers often like this size because it reduces strain on the hinge and feels less tiring over a long day.
The setup is very direct. It attaches with the same plate and uses USB-C for power and video. Many users report that macOS treats it just like a normal external screen, so windows snap into place easily. If you want a pick that avoids extra steps, it fits the idea of a no-driver portable screen for MacBook Air.
Pros:
- 12.5-inch compact FHD panel
- ~1.3 lb, slim build
- 300 nits, low power use
- USB-C and mini-HDMI ports
Cons:
- Small screen, less workspace
- Needs adhesive magnetic plates
- 1080p only, no upgrade
- Single cable needs DP Alt-Mode
3. SideTrak Swivel 14″
For flexible angles, SideTrak Swivel 14″ stands out. The hinge lets you turn and tilt the panel without moving the laptop. This helps on airplane trays, in small study rooms, or at tight café tables. The 14-inch size sits nicely next to a 15-inch Air without feeling crowded.
Mounting feels secure with strong plates and magnets. A quick-release design lets you remove the panel when you want only the laptop. If you want a larger view for timelines or palettes, this is a reliable MacBook Air 15-inch side-mounted monitor choice. See Apple User Guide: Use an external display with your MacBook Air.
Pros:
- 360° swivel hinge design
- 14-inch FHD, more workspace
- ~1.5 lb with 340 nits
- USB-C or USB-A + HDMI
Cons:
- Heavier at ~1.5 lb
- TFT panel, modest angles
- May need dual cables
- Thicker hinge, bulkier profile
4. SideTrak Swivel 12.5″
Sometimes small is best. The 12.5-inch Swivel keeps weight low while opening room for chat, notes, and reference pages. A smaller size also means less pull on the laptop lid, which helps during long sessions.
Most people enjoy the smooth slide and familiar USB-C path. Because it is compact, it suits narrow desks and shared spaces. If portability is your top need, this model strikes a clear balance between comfort and screen space.
Pros:
- 12.5-inch lighter Swivel screen
- ~1.3 lb, easy to carry
- Magnetic plates, steady mount
- Great for tight desks
Cons:
- Smaller view than a 14-inch
- Weight varies across batches
- May need HDMI + USB-A
- Stick-on plates required
5. Mobile Pixels DUEX Max DS (14.1″)
When you want a wider canvas, the DUEX Max DS brings a 14.1-inch view. Wide sheets, long timelines, or two documents side by side all fit more easily here. Even so, it keeps the tidy clip-on style many people prefer.
A single cable works in most setups, and the plate-plus-magnet mount feels familiar. People who work at a desk and travel sometimes pick this size for the extra room. For on-the-go productivity, it also fits the idea of a compact laptop monitor for remote work.
Pros:
- Largest 14.1-inch DUEX panel
- ~1.8 lb, still portable
- 0.25-inch thin profile
- USB-C or HDMI flexible
Cons:
- Heaviest of the DUEX line
- Lower PPI at 1080p
- Requires adhesive magnetic plates
- Bulky compared to smaller units
6. Kwumsy F1S (14″)
Clean lines and a slim frame define the Kwumsy F1S. The 14-inch panel handles writing, browsing, and basic edits with comfort. Narrow bezels keep the footprint neat, and the body sits close to the laptop for a tidy look.
Mounting is straightforward and steady. Many professionals bounce between meetings, like how fast this screen sets up and stows away. With a calm design and simple cable path, it aims to blend into your workflow instead of calling attention to itself.
Pros:
- Bracket mount, no sticky plates
- Single-cable USB-C supported
- 0.25-inch slim design
- Extra modes and reverse charging
Cons:
- Needs HDMI + USB-A sometimes
- Heavier at ~1.7 lb
- The bracket adds a footprint on the desk
- Cable kits vary by batch
7. OFIYAA P1 (12″/14″)
Two size choices make the OFIYAA P1 flexible. The 12-inch version keeps your bag light, while the 14-inch version gives more room for dashboards, code, and long pages. Both aim to make travel easy and set up quickly.
A snug mount and simple cable path help with daily use. If you want a no-nonsense way to add space, this line is a practical place to start. For people who move a lot, it can be a travel-friendly dual-screen for a MacBook Air solution.
Pros:
- Clamp bracket fits 13–16.5″
- 12-inch and 14-inch choices
- USB-C, HDMI, USB-A options
- Screens adjustable individually
Cons:
- Only fits certain laptop sizes.
- May need an extra power supply
- Clamp adds weight and bulk
- Confusing model names exist
Setup, Tips, and Performance for MacBook Air 15-inch Screen Extenders
Setting up a screen extender for your MacBook Air 15-inch is easy when you follow a few clear steps. Along with setup, it helps to know buying tips, quick checks, and macOS tricks that make your dual-screen use smooth.
Set up and compatibility notes for MacBook Air 15-inch.
Your chip matters. M-series MacBook Air models have different rules for external displays. The M2 MacBook Air external display limit allows one external screen with the lid open, which is perfect for a single clip-on extender. If you want more, plan for a dock or software support and test your apps with care. Prefer a bigger view on the go? Pick the Yutoo Triple Laptop Screen Extender for quick, tidy dual screens.
Battery care is simple. Lower the extender brightness a bit, and set displays to sleep when idle. A short USB-C cable keeps the desk neat, reduces port strain, and avoids snags in a crowded bag. In most cases, one cable handles power and video for smooth, simple travel.
Buying tips that keep your setup light
A light, tidy setup starts with choices that match your daily work and protect your MacBook Air hinge. Use the tips below to balance size, weight, and comfort.
- Match size to workload: Writers and analysts do well at 12.5–13.3 inches, while designers and spreadsheet power users often prefer 14 inches for extra columns and palettes.
- Check weight and mount stability: Always verify the rated weight and how the mount grips your lid; a wider plate and strong magnets usually mean better stability and fewer squeaks.
- Plan your workflow: Keep email or chat on the extender and your main task on the MacBook display to reduce neck turning and keep the heaviest windows on the Mac panel.
Small, smart choices make a long workday feel easier. Choose Lenovo Laptop Screen Extenders for a light, portable second screen on your laptop. Pick the panel size that suits your tasks, confirm the mounting quality, and place the right apps on the side screen for a lighter, more focused flow.
Quick performance checklist
Your extender should look clear, travel well, and hold steady through daily use. Run through this quick list to avoid common mistakes.
- Color accuracy vs office needs: For simple office work, color precision matters less; for design tasks, bring a calibration tool or choose a panel with strong coverage numbers.
- Look beyond screen weight: Total carry weight includes the plate, magnets, cable, and any case, so consider the full kit when comparing models.
- Protect and maintain: Use a clean sleeve to guard the panel and keep dust off the sliders; coil the cable and wipe the rails to extend the life of the extender.
Focus on clarity, stability, and care. Choose the Kefeya Laptop Screen Extender for a light, portable second screen on your MacBook Air. With the right checks and simple maintenance, your side screen will stay bright, comfortable, and reliable wherever you work.
macOS tips for smooth dual-screen use
Start by arranging displays in System Settings so the cursor moves in a natural line. Then choose a warmer color at night with Night Shift to reduce eye strain. Spaces and Mission Control also help by keeping certain apps on the side screen every time they open.
Stage Manager can speed up window moves. Manual tiling helps some people stay focused. Try both, and choose what feels calm and quick. Keep the dock and menu bar on the main screen to prevent stray clicks while you present or share your screen.
Comparison Table: Screen Extender for MacBook Air 15-inch
| Model | Screen size | Mechanism | Attach type | Cable setup | Portability | Best use case | Notes for MacBook Air 15-inch |
|---|---|---|---|---|---|---|---|
| Mobile Pixels DUEX Plus | 13.3″ | Slide-out | Magnetic plates (3M adhesive) | USB-C single cable (DP Alt-Mode) or HDMI + USB-A power | Light | Daily work, mail, docs, browser | Balanced next to 15″; calm weight on lid |
| Mobile Pixels DUEX Lite | 12.5″ | Slide-out | Magnetic plates (3M adhesive) | USB-C single cable (DP Alt-Mode) or HDMI + USB-A power | Very light | Writing, study, travel | Small footprint; gentle on hinge |
| SideTrak Swivel 14″ | 14″ | Slide + swivel/tilt | Magnetic plates with 3M adhesive | USB-C single cable, or USB-A + mini-HDMI | Light–medium | Wider view, timelines, palettes | Angles adjust without moving laptop |
| SideTrak Swivel 12.5″ | 12.5″ | Slide + swivel/tilt | Magnetic plates with 3M adhesive | USB-C single cable, or USB-A + mini-HDMI | Very light | Tight spaces, shared tables | Low pull on lid; easy to carry |
| Mobile Pixels DUEX Max DS | 14.1″ | Slide-out | Magnetic plates (3M adhesive) | USB-C single cable (DP Alt-Mode) or HDMI + USB-A power | Medium | Spreadsheets, side-by-side docs | Largest panel; more room, more bulk |
| Kwumsy F1S | 14″ | Slide-out | Adjustable bracket/stand (non-magnetic) | USB-C single cable (full-feature Type-C) or HDMI + USB-A power | Light–medium | Meetings, office travel | Slim look; neat cable path |
| OFIYAA P1 (12″/14″) | 12″ or 14″ | Slide-out | Clamp/bracket (scalable) | USB-C or HDMI (may need separate power) | 12″: Very light / 14″: Light–medium | Pick size by workload | Simple, no-nonsense add-on screen |
Conclusion
A Lightweight clip-on screen extender for the MacBook Air 15-inch can change the way you work in a small and helpful way. More space on the side keeps research close and creation clear. When the mount holds tight, the cable stays short, and the panel lines up cleanly, your day flows better from the first hour.
Begin with your needs. If travel weight is the top goal, choose a smaller panel and a slim mount. If wider space matters more, pick a 14-inch option with a firm hinge. Always remember the display rules for your chip, and plan for a dock only if you truly need more screens. With a bit of care, your side screen will feel like it was always part of your Mac.